Big Changes in Horticultural Lighting
Grow lights have changed enormously over the last decade or so. The herd is moving inexorably towards LEDs as the light source of choice for indoor farming, no doubt enchanted by the promise of improved spectra, finer granularity of intensity control, lower cost of ownership and higher photon efficacy. But LEDs differ in two significant ways from High Pressure Sodium (HPS), Metal Halide (MH), and Ceramic Metal Halide (CMH) grow lights: LED grow lights produce comparatively very little infrared radiation compared to HPS, MH and CMH light sources—and the light itself is spread out across hundreds, sometimes thousands of diodes, rather than all the photons emanating from a single arc tube or lamp.
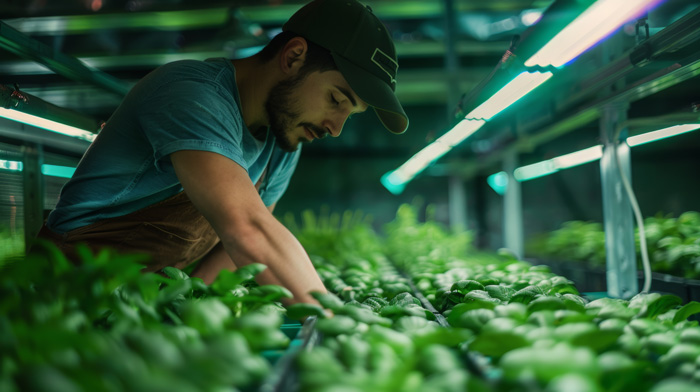
What does that mean in practical terms? Well, do you remember the old-school trick for determining the ‘sweet spot’ underneath high intensity discharge lamps? Back in the day, indoor growers using HPS and MH grow lights used to hold the back of their hand or forearm level with their plant canopy, directly underneath the lamp for thirty seconds or so. If you could feel any hint of your skin warming up over this period, this was a clear indication that the light was too close. Radiant heat (infrared) as well as the convection heat from the lamp itself (typically the outer lamp casing can reach 250 °C or more after a few hours’ operation) served as important sensual signals. If your skin warmed up then you could be sure that your plants’ canopy-level leaves would over-transpire too.
What about LEDs?
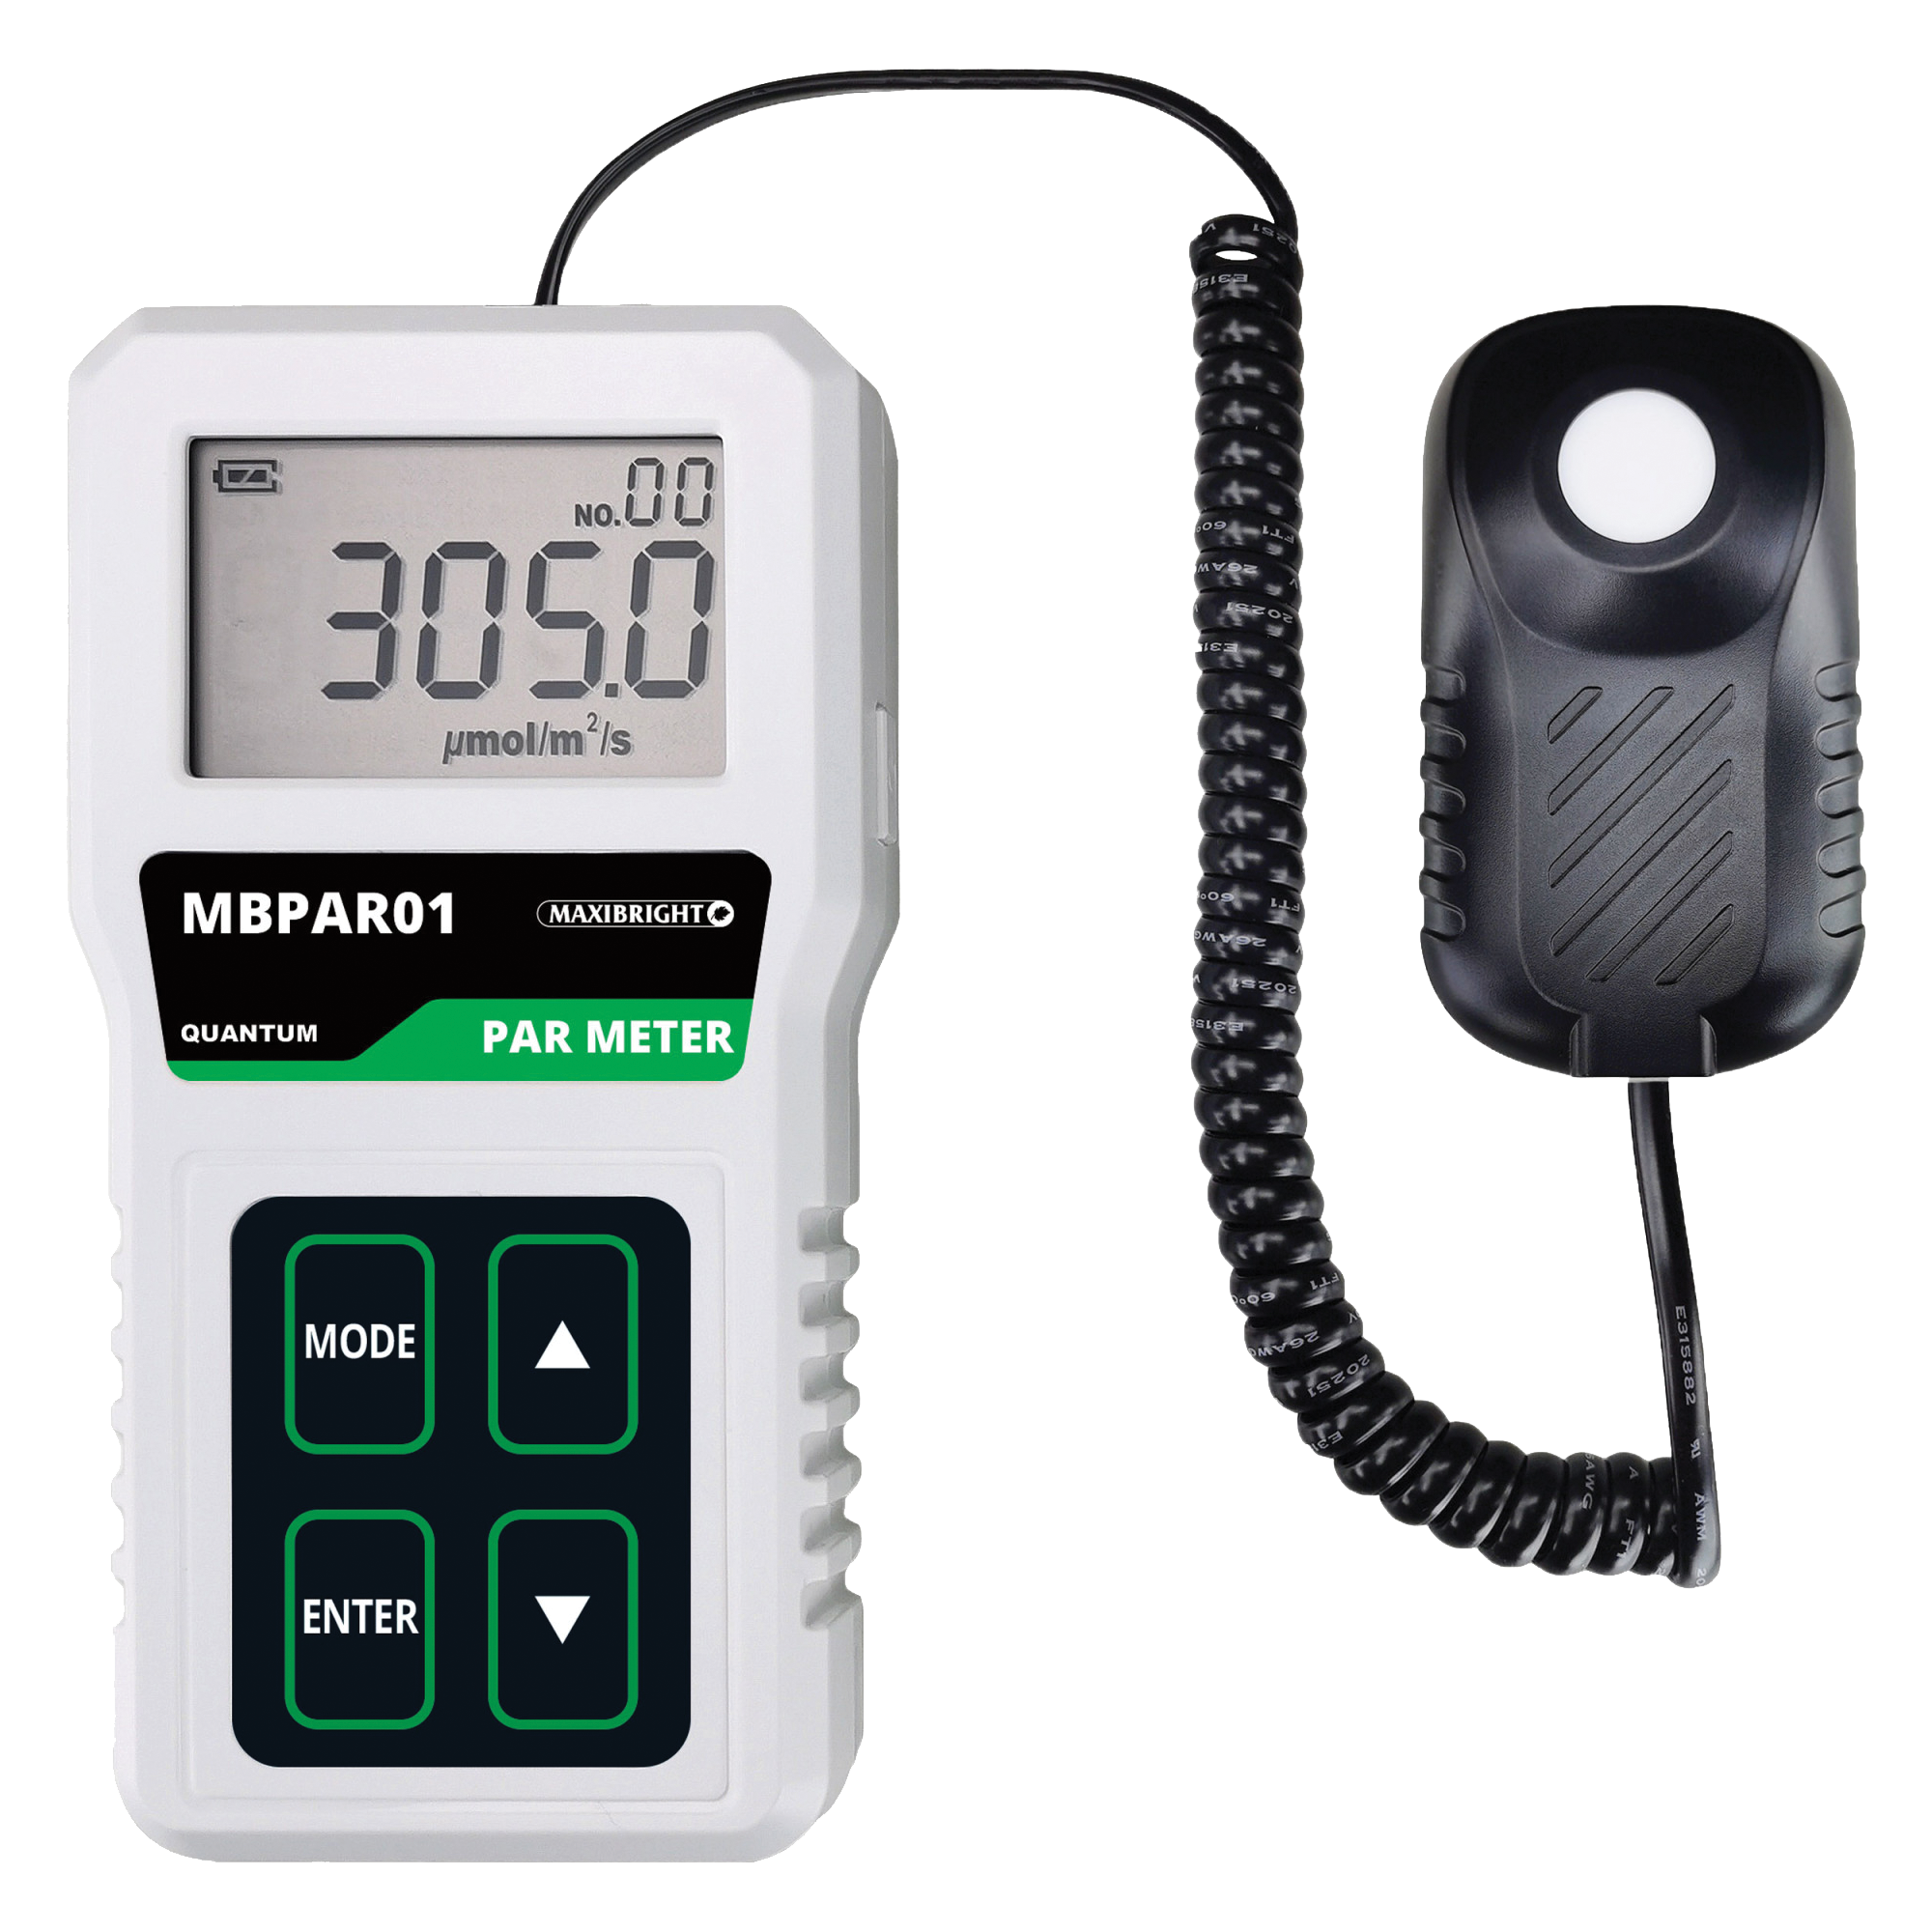
Alas, this methodology is not really applicable to LED grow lights because of their lack of radiant heat / infrared and much lower operating temperatures. As such, many growers have turned to handheld PAR (aka quantum) meters to measure incident light intensity. However, this really just rephrases the question rather than answering it. How much ‘light intensity’ is too much?
Different plant species each have their own light intensity requirements. For instance, giving basil anything over 500 µmol s-1 m-2 is a waste of time and electricity, whereas other light-loving species thrive in twice that intensity or more.
Even for a given species or cultivar, the optimal light intensity depends on the stage in the lifecycle. Light-loving plants may only require 100 – 200 during the seedling phase, but their needs rapidly increase to 500 – 600 µmol s-1 m-2 in later vegetative growth, and up to 900 – 1000 µmol s-1 m-2 or more during the generative (flowering) phase.
Okay—so right now it might seem like there is a lot of moving parts to keep track of and it may not feel like we are any closer to answering the original question. But hang in there!
The Importance of Proximity Hasn’t Changed
One thing all indoor growers should aim for when positioning their grow lights is proximity. In other words, we should always try to achieve the target light intensity by placing our lights as close as possible to our plants and dimming if necessary. Make sure you allow some room for stress-free vertical growth — a few inches should be fine. With HPS and MH technologies, dimming wasn’t always an option. Even with the advent of electronic ballasts with dimmer dials, lamps would invariably operate less efficiently at lower power settings or their output underwent an unwelcome ‘spectral shift’. (This was especially true of metal halide lamps, the light of which typically become ‘greener’ when dimmed.) One advantage of LED technology is its ability to be dimmed with minimal spectral changes. However, if you observe your plants starting to become tall and leggy, this is a sure sign that you’re undersupplying light and you should gradually increase intensity.
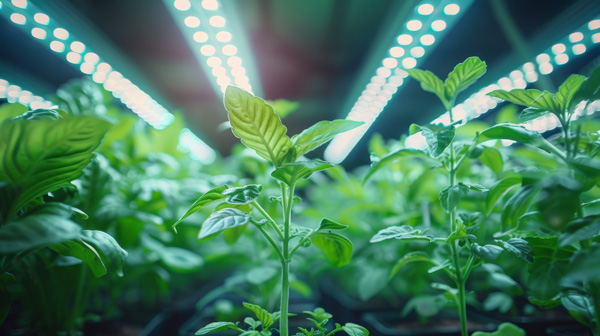
From an energy consumption standpoint, it’s far better to achieve a given PPFD (incident light intensity) by positioning your light, say, fifty centimetres away running at 25% intensity than a metre away at 100% intensity. Yes, around a decade or so ago it was en vogue for American commercial growers to bolt a bunch of 1000W DE-HPS to their warehouse ceilings and create what was euphemistically coined “composite” lighting plans. But most of those guys have gone out of business or have switched to LEDs.
Of course, there are different styles of LED grow lights. Some use lower numbers of high-powered diodes and lenses to spread their photons out from a relatively compact fixture form, others are multi-array with several light bars using greater numbers of mid-powered diodes. The high power diode fixtures are less forgiving than the mid-power multi-arrays if the top of your plants err too close. Always consider the recommended footprint of any lighting fixture you plan to use and continually perform spot checks with a PAR meter to make sure your plants aren’t being overloaded.
Tell-tale Signs Your Plants Are Too Close
So what do we actually mean when we say there’s “too much light” and what are the plant symptoms to look out for? Growers should think in terms of balance, noting that plants have two photosystems—one for shorter wavelength light and one for longer wavelength light. Plants photosynthesize most efficiently when both photosystems are stimulated. If you bombard a plant with too much red light, for example, it will show signs of photoinhibition at lower light intensities than full spectrum light. Similarly, if plants run out of atmospheric carbon dioxide, they can no longer photosynthesize and much of the incoming light will turn into waste heat.
First, look for leaves curling upwards like taco shells. This upwards curl is a defence mechanism against over-transpiration which is, in turn, caused by too much heat. If photons of visible light are not absorbed to power photosynthesis, many will end up being dissipated as heat inside plant tissue. Stomatal apertures will close if plants sense they are overheating in an effort to reduce water loss. Unfortunately, this effectively shuts down photosynthesis at the same time—a sort of defence mechanism.
Another thing to look out for is uneven or slowed growth or emerging signs of nutrient deficiencies in the centre of the canopy (in terms of the footprint of the associated light). Yellowing or brown leaves, bleaching, or burnt leaves / flowers are classic signs that plants are receiving too much light, especially if the leaf veins stay green but the rest of the foliage is pale. Irregular bud and flower development, sometimes referred to as ‘foxtailing’ are another sign of excessive light. Growers supplementing carbon dioxide levels (typically doubling or tripling normal atmospheric concentration) have more ‘wiggle-room’ to exceed 900 µmol s-1 m-2. If you’re relying on air exchange to maintain carbon dioxide levels, you should consider 900 µmol s-1 m-2 as a maximum PPFD target for most light-loving plant species when growing indoors.
Handy Tools for Monitoring LED Light Intensity
Growers can measure leaf temperature directly using an inexpensive (from £20) ‘point and shoot’ infrared thermometer. The optimal leaf temperature to drive a given plant’s metabolism hasn’t changed with the advent of LED grow lights, although it does change from species to species. Whatever lighting technology you use, the LST should ideally remain 1 – 2 °C below the air temperature if the plant is transpiring healthily. If it is higher than this, it’s a sign that the plant is receiving more light than it can handle, or you forgot to irrigate.
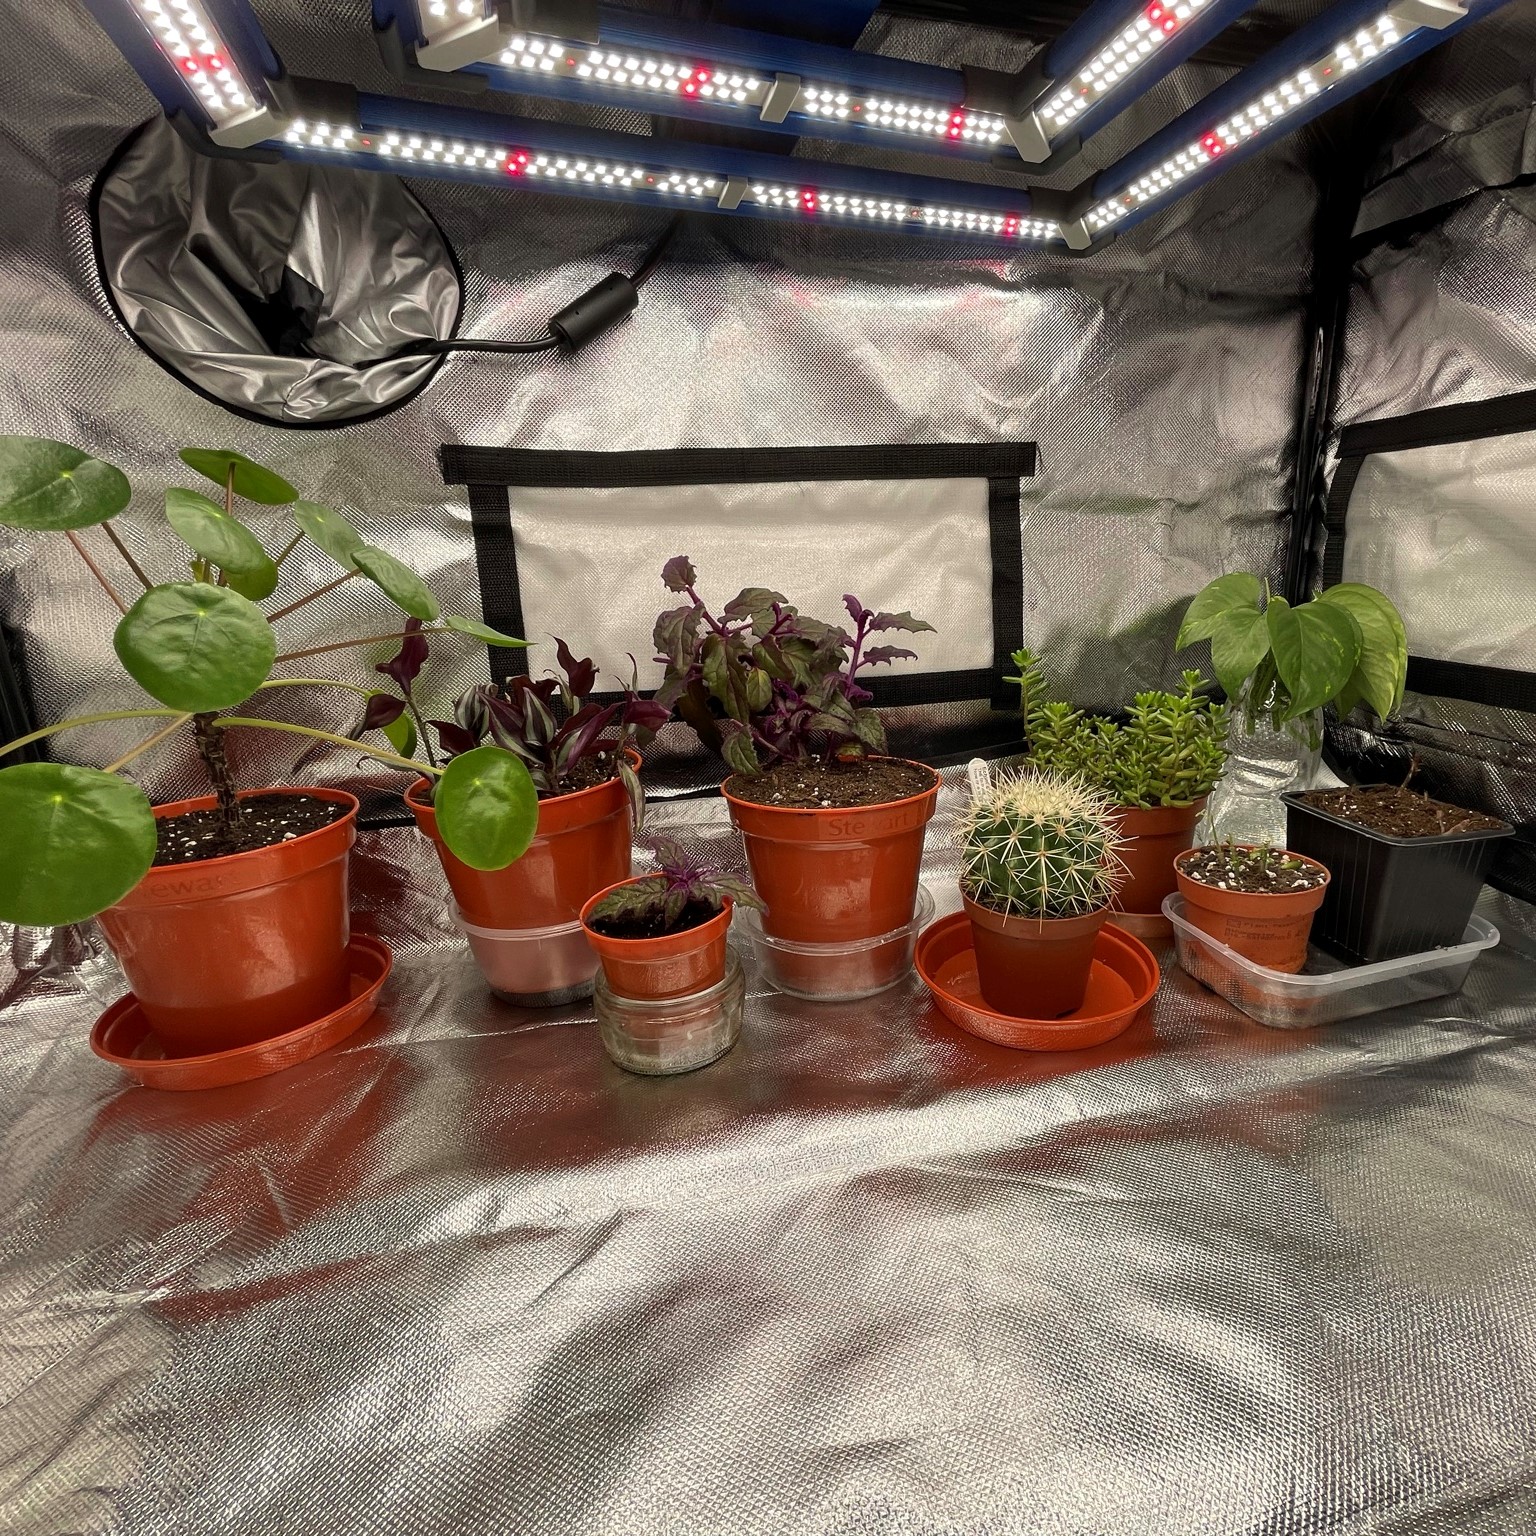
In summary, consider investing in a PAR meter (sensors that work in conjunction with your smart phone can be purchased for as little as £80) and try a starting position of around 50 – 65 cm with multi-array LEDs, and 65 – 90 cm for high-power, lensed LEDs. Google the DLI (Daily Light Integral) of your chosen plant species so you know its lighting requirements. For example: 30 mol/day. Multiply this number by a million—so, for the example of 30 mol/day, the answer would be 30,000,000. Divide this number by 3,600. (30,000,000 / 3600 = 8,333). Finally divide this result by the number of hours per day that you can keep your grow lights on. So, if you’re flowering a short-day plant in a 12 hour photoperiod, divide 8333 by 12 to get 694. This is your target light intensity—694 µmol s-1 m-2. Hold your PAR meter sensor level (not pointing towards the light) at various points at canopy level and try to maintain your target light intensity as an average over the footprint.
Key Takeaways: Optimizing LED Grow Light Distance for Healthy Plants
- LED vs. Traditional Lights: Unlike HPS, MH, and CMH lamps, LEDs distribute light across many diodes and emit minimal infrared radiation, which affects how we assess light proximity and intensity.
- Distance Matters: Keep LED lights as close to the plants as practical, adjusting for growth stages and species-specific light needs, while ensuring you can dim the lights if necessary to prevent stress. Avoid surpassing species-specific light intensity thresholds to prevent growth issues and waste of electricity.
- Monitoring Tools: Use PAR meters and infrared thermometers to monitor light intensity and leaf temperatures respectively, to ensure optimal growing conditions.
- Watch for Signs of Stress: Signs that plants are too close to LED lights include upward curling leaves, uneven growth, and symptoms of nutrient deficiencies in the canopy center.
- Energy Efficiency: Position lights to achieve desired PPFD (e.g., 50 cm away at 25% intensity) rather than full power at greater distances, aligning with modern energy-efficient practices.
by Everest Fernadez from the Just for Growers YouTube channel.

